Repairing a Husqvarna Automower 105
TLDR - Troubleshoot a faulty wheel motor
- Check the error codes/logs, any pointers?
- Turn it off and try to spin the wheels by hand, do they have equal resistance, feel and noice?
- Test the motors with the wheels in the air.
- Switch the motors on the main board left/right to check if there is actually an issue with the motor and/or gearbox.
- Locate and check the three (3) driving mosfets for the faulty motor on the main board.
Try to replace the minimal amount of parts to get the machine running again. Good luck!

This is a story of me troubleshooting a Husqvarna Automower 105 produced in 2016 and started working on our lawn in the spring of 2017. So far it has spent over 1 700 hours cutting our grass.
After a well deserved winter rest in the charging station, outdoors, I figured it was time to get it ready for some work. Cleaned it, checked the blades and started its first session of the season.
After only a few minutes I noticed that it was moving a bit flickery. Later I found it stuck in a corner, outside the working area. That’s strange.
This is when I identified the right wheel being stuck. It acted like gears skipping teeth when giving it a push to move forward. Even with the wheels in the air, the right wheel still wasn’t moving by it self. Helping the wheel rotate resulted in a very shaky and uneven rotation.
Is it the gearbox?
I headed to a beloved Facebook group of Swedish Automower owners. A lot of people where having gearboxes fail on them. Some mention the grease not being resistant to below zero.
Got this confirmed by a local service shop after explaining the issue. Got a quote for replacing the motor and gearbox assembly for roughly 250 EUR.
While giving the backstory, the techician reacted to the amount of hours logged by the machine and claimed that the motor and gearbox usually lasts for at least 5 000 hours.
A friendly soul in the Facebook group have published an inituitive guide for how to tear down the gearbox, replace bad parts and grease it up again.
Opening the machine and removing the motor is quite straight forward. This will void your warranty.
- Remove the main body, display cover and the upper chassis.
- Always disconnect the power cable going to the battery before any other connector.
- Disconnect the wheel motor from the main board and detatch the cable fastener by pulling it straight up.
- Remove the wheel to reveal the three (3) motor mounting screws and finally slide the assembly out.
To detatch the motor from the gearbox and open it, you need a fresh PH1 screwdriver. Make sure you apply good amount of pressure to not damage the heads, as these screws have threadlocker.
After marking the motor positioning I inspected the three levels of gears, without finding any damaged or worn out teeth.
Putting the box back together and spinning it around, it seemed all fine, except for being a bit too dry for my taste. I’ll grease it up properly before pairing it with the motor again.
Is it the motor?
So, the gearbox is fine. Let’s test the motors again. Luckily, there is a quite handy “Expert” menu that can be accessed by holding down 7 + 9 on the numpad.
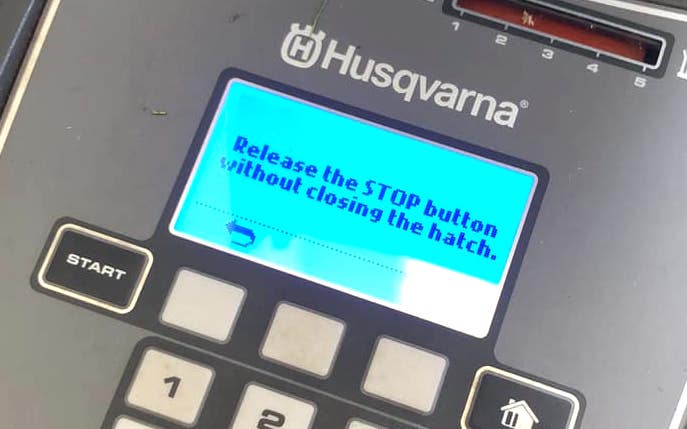
After releasing the stop button, without closing the display lid, you can set the desired speed of the motors by 10 % increments in any direction.
Spinning the right wheel motor without power by hand, the bearings and axel spin freely. Starting the motors at 10 %, only the left wheel was turning. Trying to spinn the axel by hand, it felt stuck and wanted to correct its current position.
At a speed to 40 % with some help, I got it going by itself. The movement was very uneven with a lot of vibration. Almost as the rotors was unbalanced. Stopping when decreasing the speed to 30 %.
Is it the driver?
Then it occurred to me. The left and right wheel motors are identical. Let’s just switch them to see if the motor is really the issue here. Setting the speed to 10 % and it run just fine.
Ok, there is something wrong with the driver. Reading up on common motor problems in the community, I confirmed that driving mosfets can can indeed go bad.
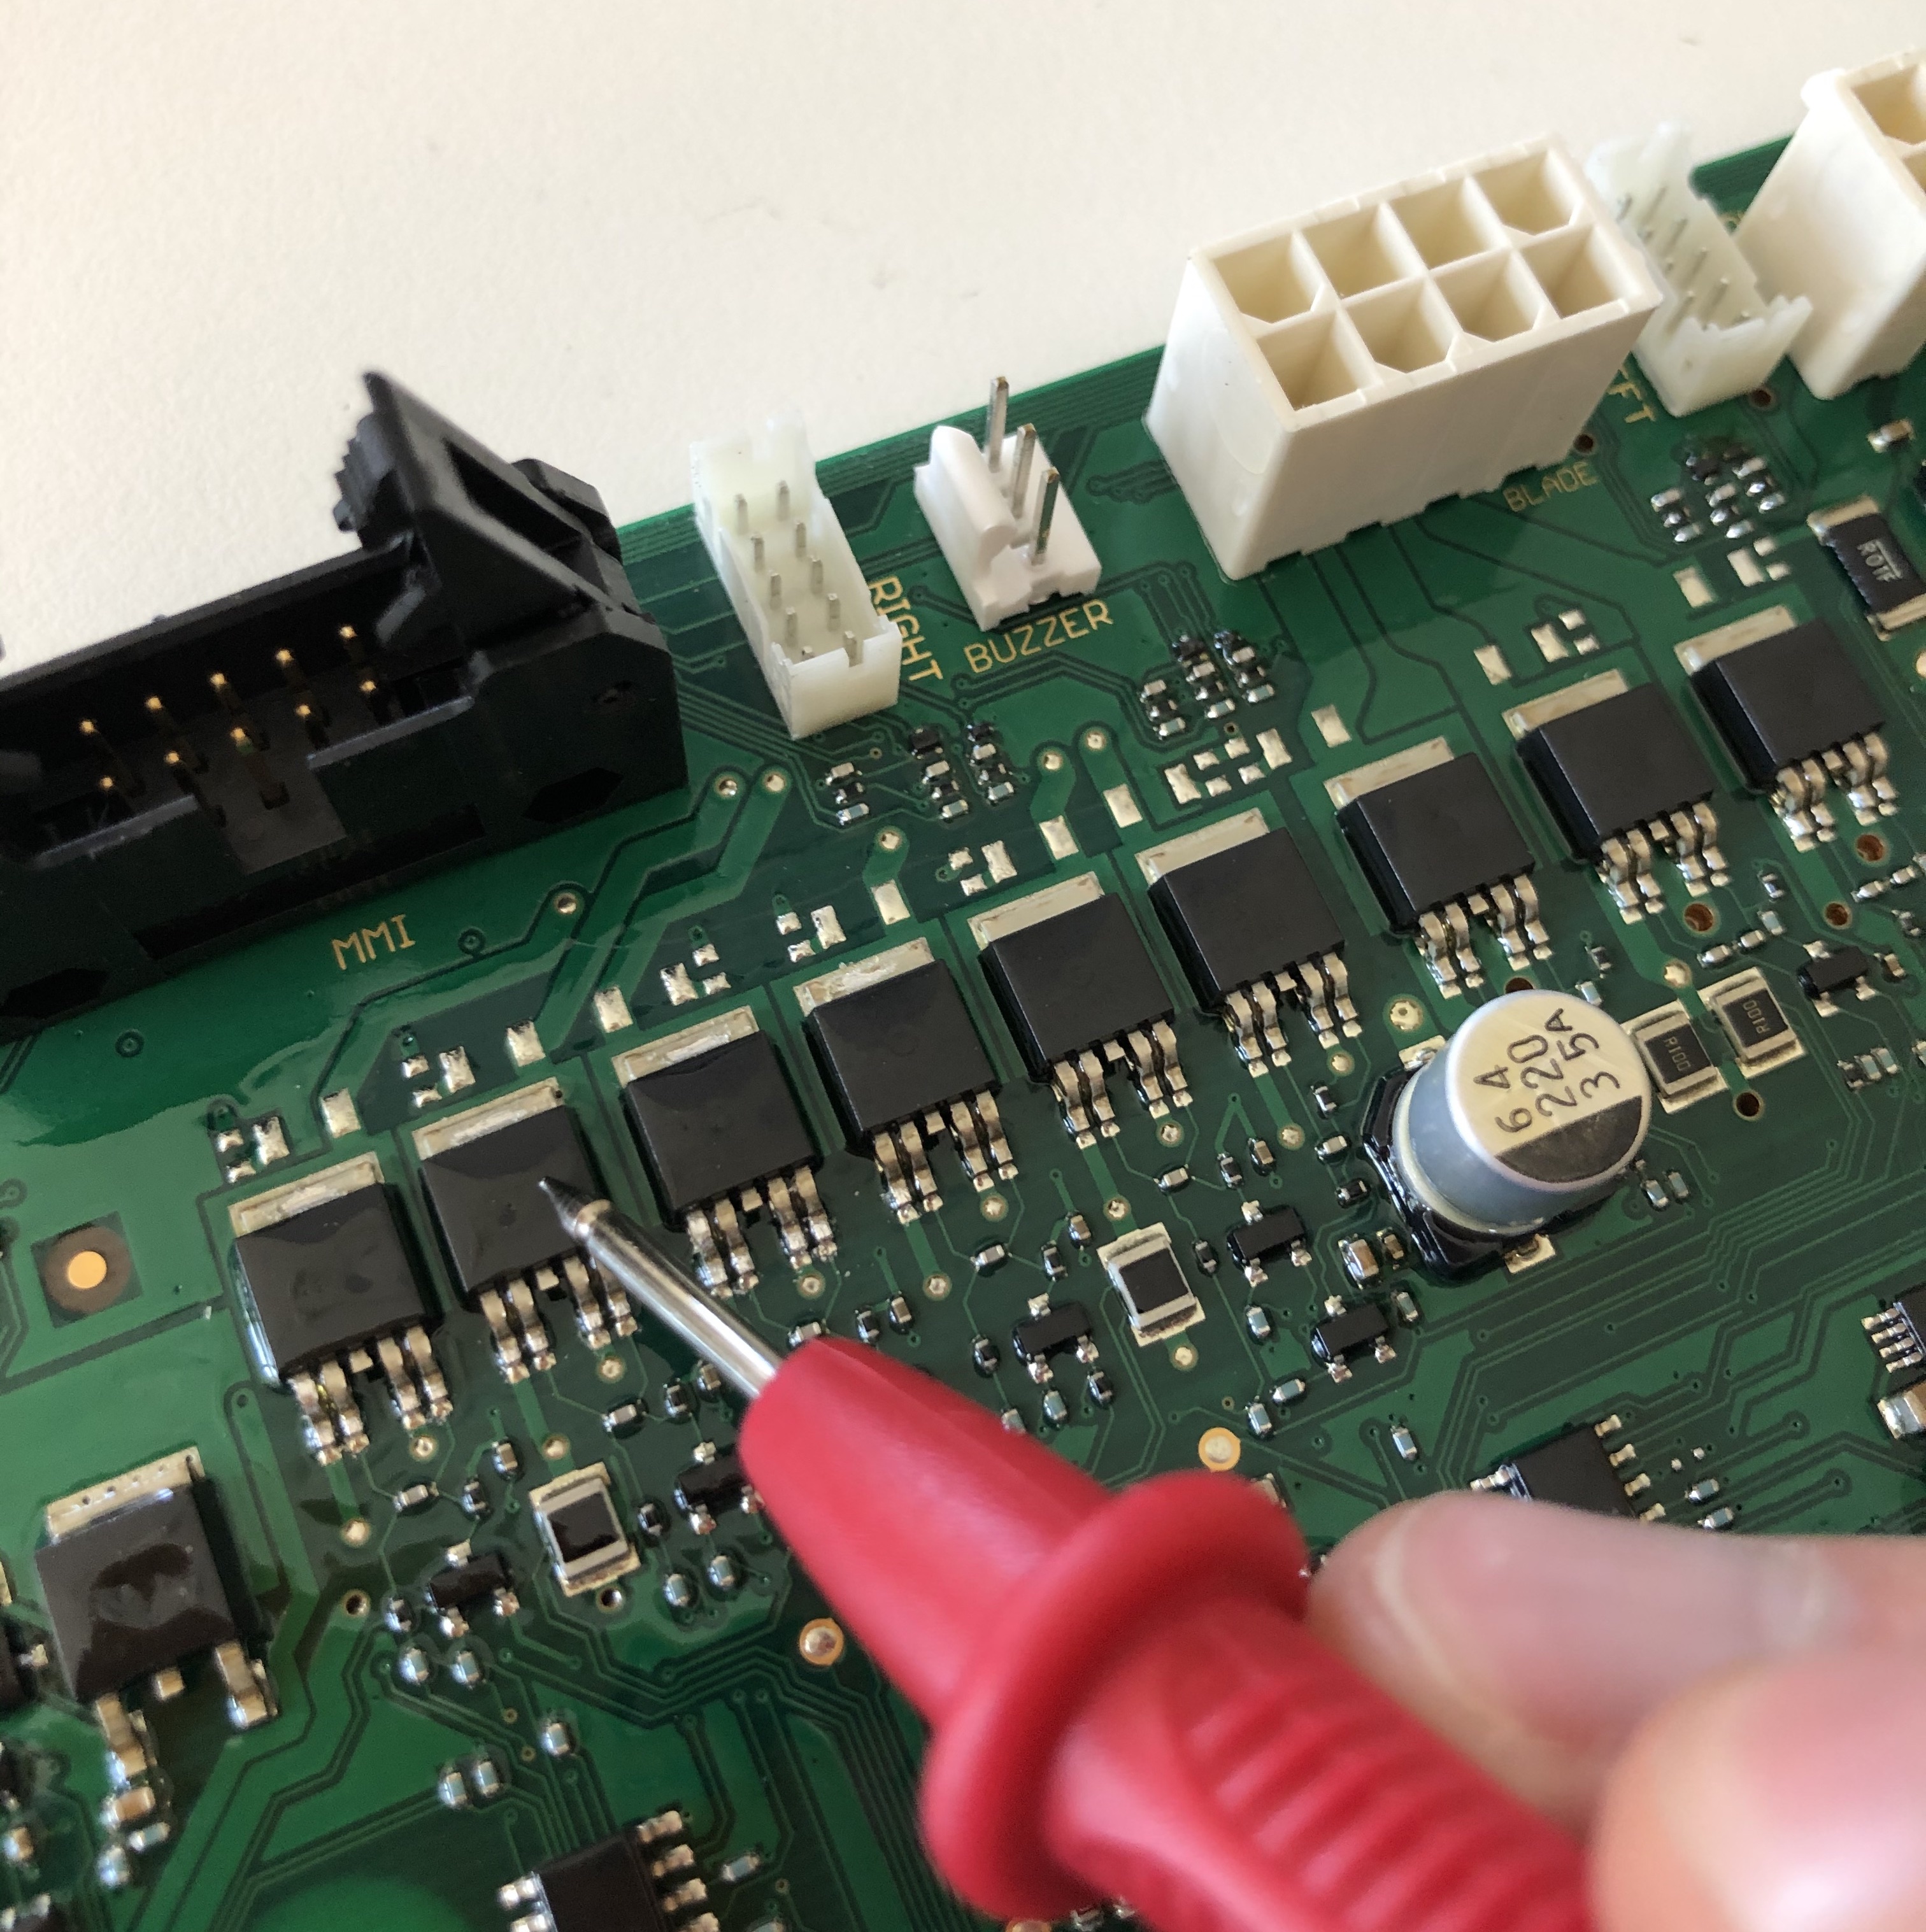
Removing the main board and identified the three groups of mosfets driving the wheel motors. The three to the left is driving the right motor. After pulling out my multimeter to check the different pins on each mosfet. I could identify the middle mosfet as being shorted.
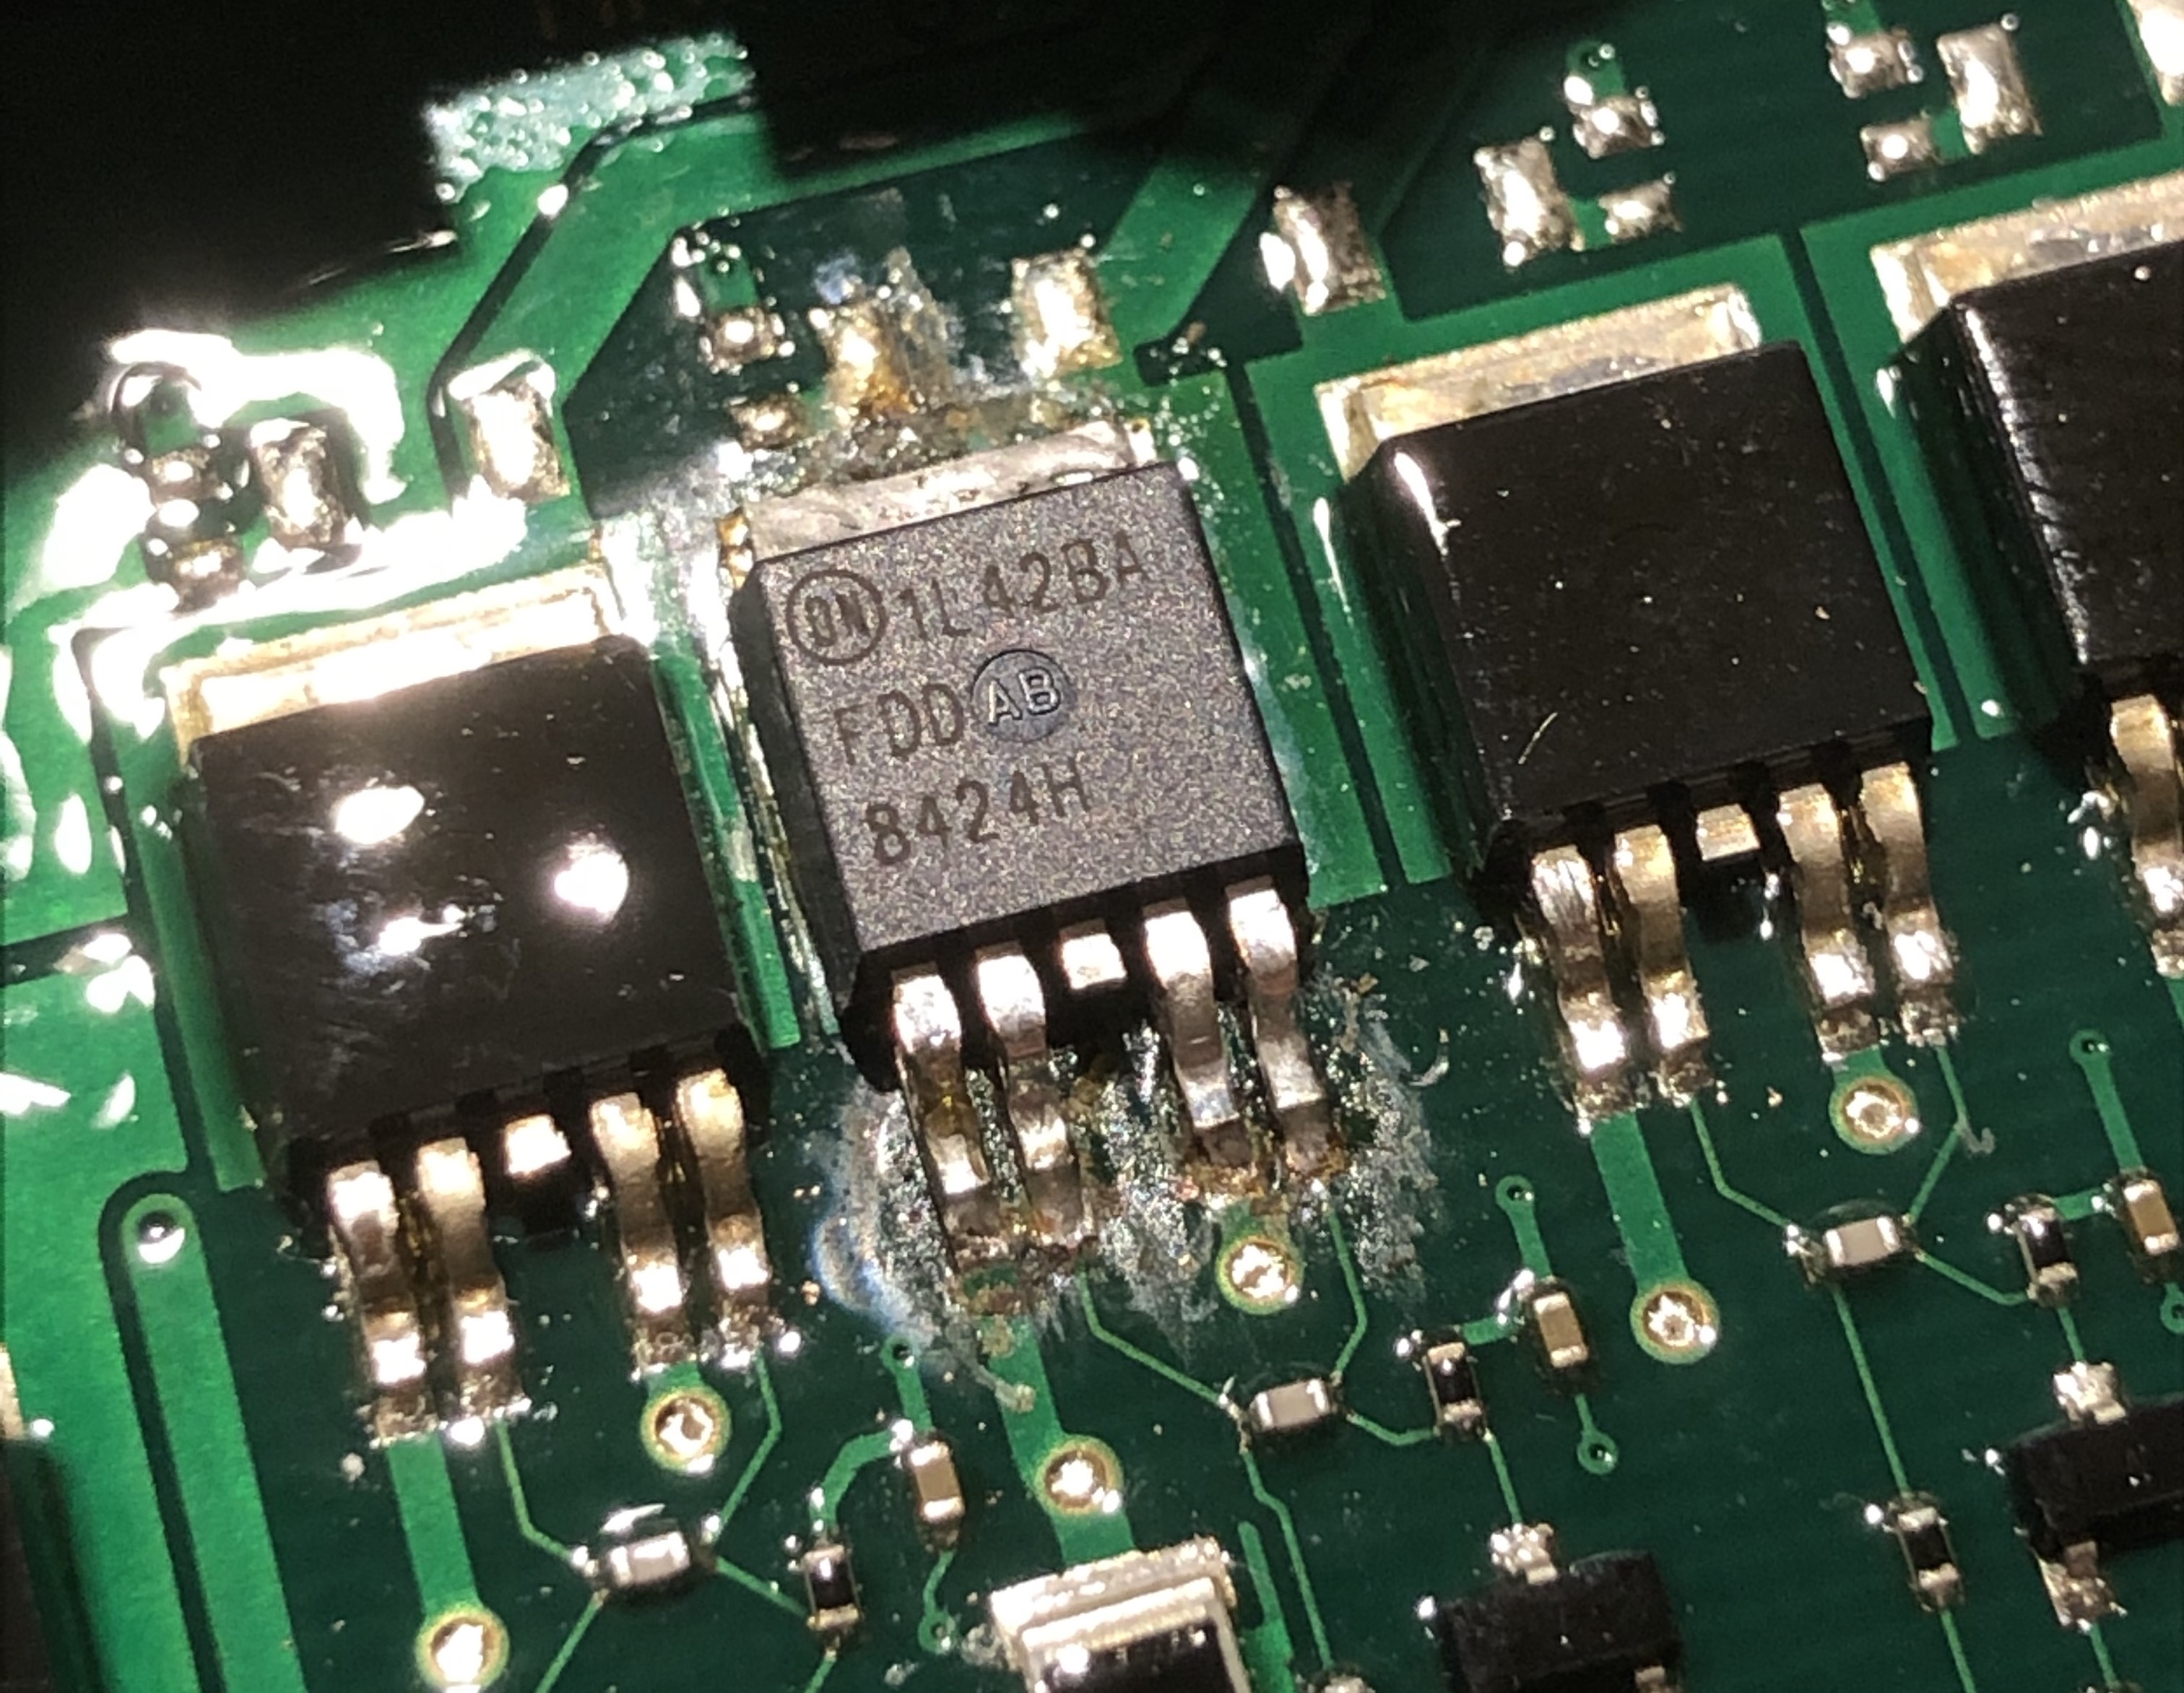
Scraping off the epoxy with a razor blade and identified the mosfet as being a FDD8424H.
Repaired, tested & hungry for some grass
Join the Right to Repair Europe campaign to give DIY’ers the ability and support from manufacturers to fix their own stuff, like this lawn mower.
Tools needed
- Multimeter, a simple one will do just fine.
- Soldering iron, min 60 W.
- Drivers; T20, T25 and PH01 (optional for greasing the gearbox)
Spare parts needed
- FDD8424H - Mosfet
- 577-75-36-01 - Display seal
- 574-87-47-03 - Chassi seal
Optional
- 577-75-37-01 - Air filter